Use case of the![]() in the sector of metallurgy:
in the sector of metallurgy:
The TISO company manufactures metallic components for the civil and military aircraft industry, defence, medical and industry sectors.
This company use the Strateo3D in order to print control tools for the components they manufacture.
- What was your first need?
Located in an extremly dynamic industrial area, the Tiso company had acquired an expertise in the aircraft industry which is nowadays our main business sector.
We are subjects to time and quality constraints that needs the implantation of inovating tools in order to improve our manufacturing and control process.
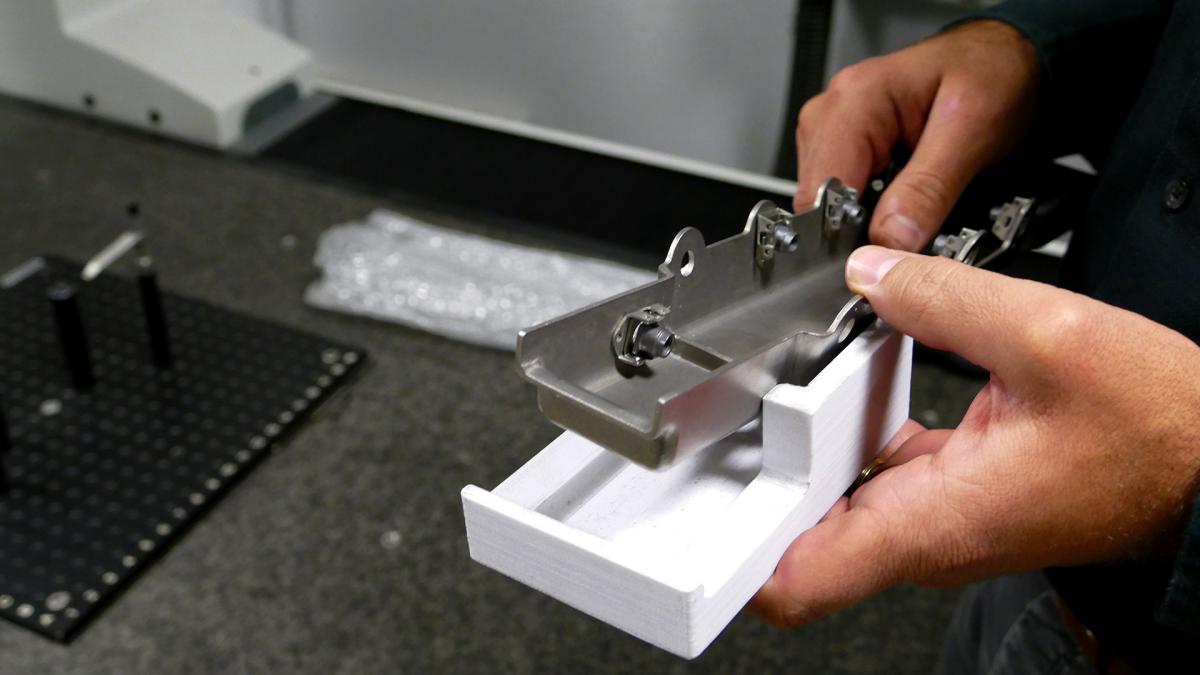
So, in the case for which we requested your services, we needed to create a fast control tool, at lower cost, functional and that could be used regularly. Usually, we manufacture these kind of tools by aluminium machining. In this case, the constraints affecting the tool have allowed us to consider another way of manufacturing it, with other material less expensive and faster to achive, as the need was to succeed in insert the reference hole in its support without any impact or interaction, due to the welded parts, so as to validate, upstream, the assembly feasability of a support, to simulate its final assembly on a plane engine.
- How the tool has been modelled (firmware)?
We're used to design in-house these tools, our Develepment Department create these ones with CATIA into STEP format. We try to use the same firmwares as our customers in order to generate the same file format, and so maintain a compatibility. We were plaesantly surprised to find that 3D printing is compatible with our procedures. We could have directly export the files into STL format (which is a standard in additive manufacturing) from CATIA, but in its support approach, the eMotion Tech Development Department takes care of this part in order to be sure that, before manufacturing, the object is properly modelled, and has zero defect.
- What material was used to print the tool, and for which reason?
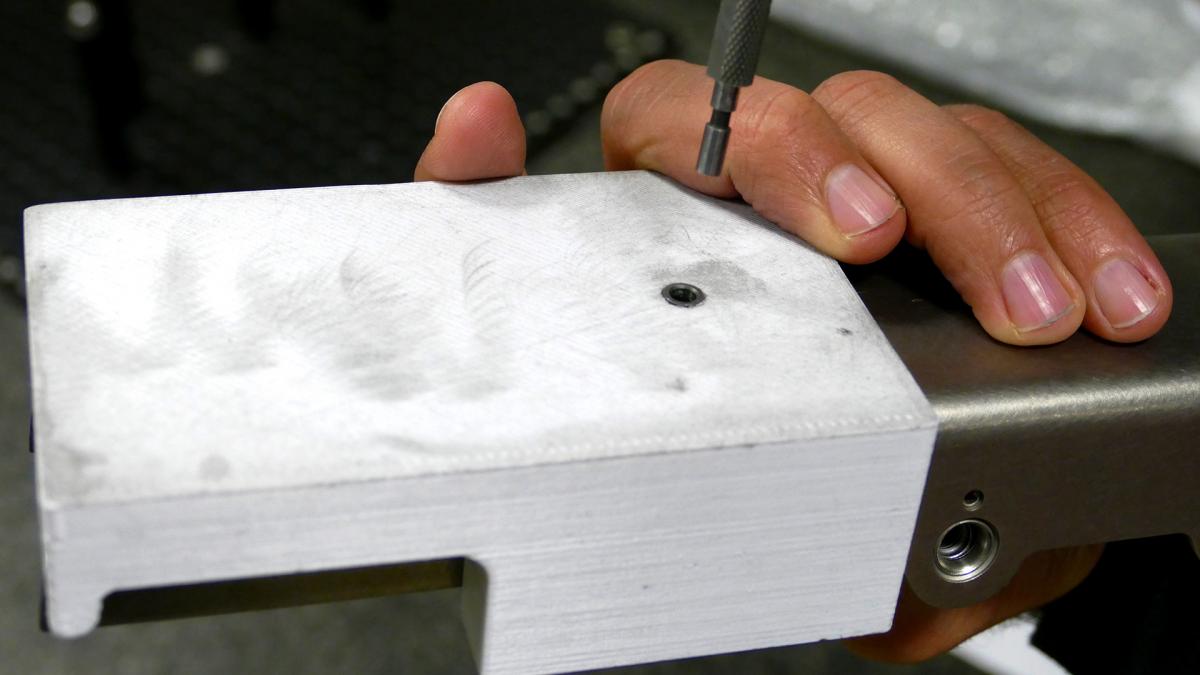
We have been advised by eMotion Tech regarding the materials, depending on the use constraints. So, after an assesment of these constraints, and taking in acount the technical features of the used materials, the choice fell on PETG, which has a high impact resistance, combined with a relativly high hardness, that prevent from distortions after repeated use.
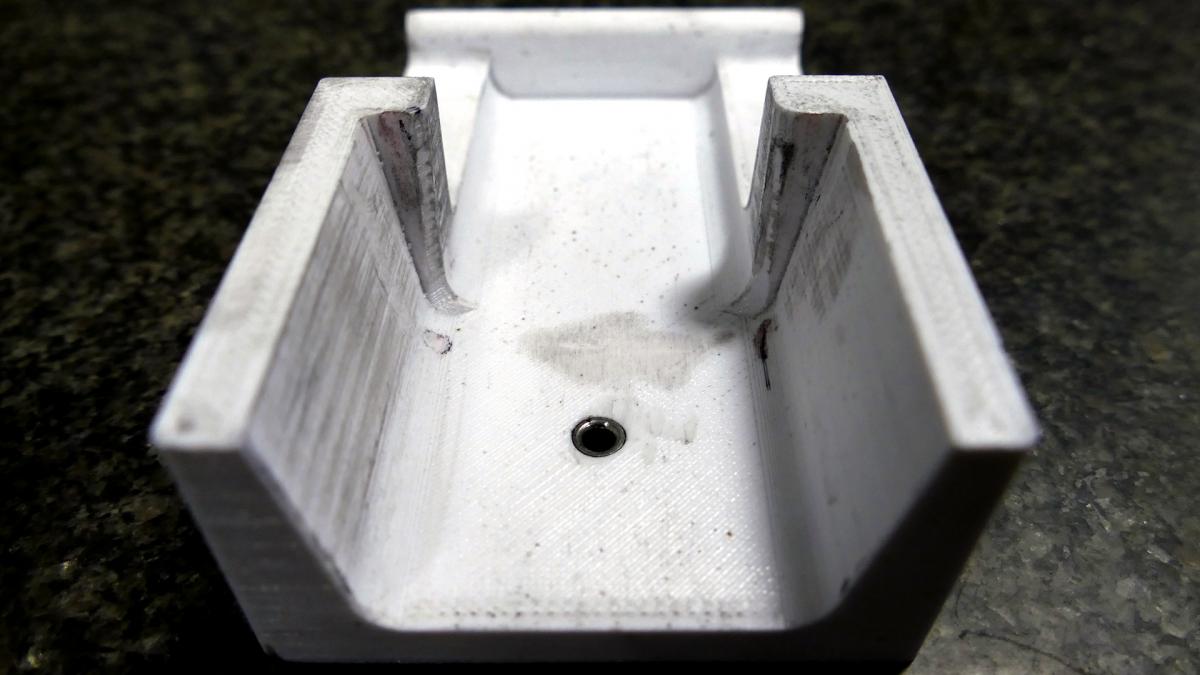
This thermoplastic easily allows the addition of a metal insert, in order to check the positioning of the controlled part, and simulate as best as we can the final use of the product.
- How did you determined the various manufacturing settings (layer thickness, POSITIONNing, infill rate, ETC…)?
Until this day, we were not used to the additive manufacturing. Our engineers obviously knew about the methods and constraints to respect, but concerning the settings to chose in order to make a final part that meets the requirements we have fixed, we have left the eMotion Tech printing department make the appropriate choices. So, they have suggested:
- 0.3mm layer thickness, no esthetic constraints ; to choose a thick layer allows to save manufacturing time, and so to save money, and get the part faster.
- 100% infill to ensure long-lasting performance, to prevent from early distortion of the tool, and to protect the metal insert in its housing.
- Did the part had to be printed in several parts? If so, how many? Printed all at once on the same bed or various prints?
The first pilot part we made using additive manufacturing was relatively small and easily fitted on the Strateo3D bed, however, we've been sensitized by the eMotion Tech technical staff about the limitations of the printing volume, and the manufacturing preparation technics.
We have larger tools needs, the 600*420*500mm utile volume already enables a lot of things, we take it into account when designing in order to split, if necessary, the part into two parts. Anyway, an equivalent machined part would be much more expensive and much more long to manufacture.
- How many time the print lasted?
The print took 4:54 hours, and a quarter of an hour to deliver it... Unbeatable!
- What benefits did you see in using the Strateo3D to print this part?
Swiftness, costs, functional. We've met a tool that perfectly meet our requirements, within a very short grinding time, and at an extremly competitive cost. This is a perfect substitute for our uses.
- Could you compare it with another manufacturing method (TiMe, COsT, ETC…)
Regarding time, if we had to do that by machining the part into solid inox or aluminium, we would have to supply the material, programm the machining, and then machining. We have saved some two weeks, and we're also considering the purchase of a Strateo3D in order to limit our dependence to a supplier and the hazards of its production.
Regarding costs, this tool would have cost about 2500€ if made of aluminium, its cost price, combined with the settings described above, is about fifty euros excluding the machine depreciation, we produce several tens a year.
The equation is simple, after the fifth tool producted in-house, the machine is cost-effective.
- Are you considering other uses of the machine/request to the printing service?
We have discovered a manufacturing process we didn't knew a lot, because comming from the metallurgy sector, we usually make our tools machined from solid. We have used the printed tool more than a thousand time without any wear or deterioration. So, this makes us more confident than ever to develop more and more control tools using this method.
Anthony ESTEBAN,
TISO company